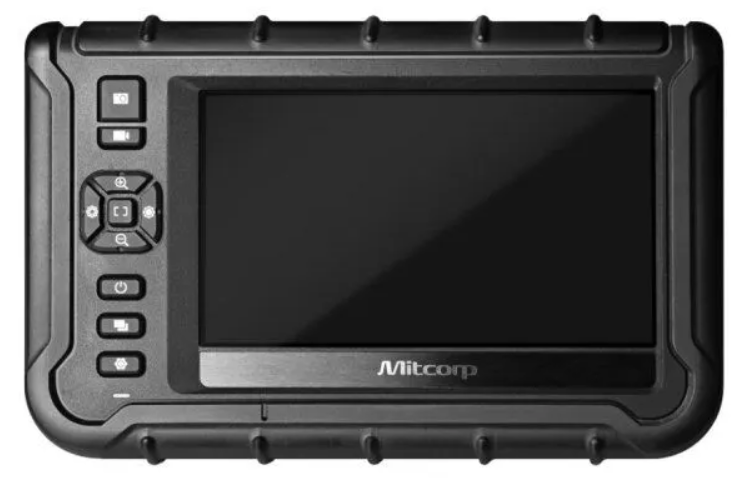
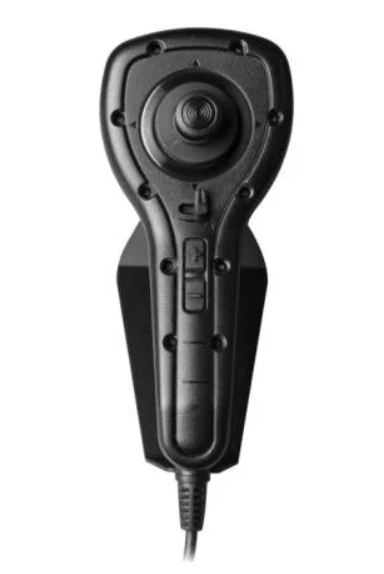
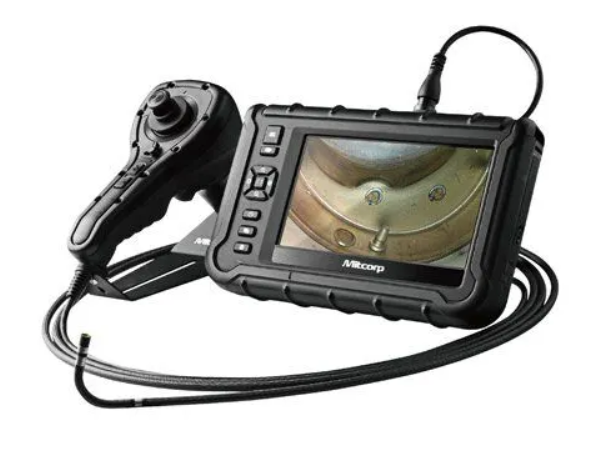
Aviation inspections often come down to small details that can drive big maintenance decisions. A tiny nick on a turbine blade, a faint crack in a liner, or a worn edge in a hard-to-reach cavity can trigger anything from continued service with monitoring to an immediate repair plan. The challenge is that traditional single-view visuals can leave too much room for interpretation. When a defect is seen from only one angle, technicians may end up estimating size, depth, or severity based on experience alone. That is where dual view 3D measuring can change the game. Providers like USA Borescopes focus on tools designed to help inspection teams capture clearer evidence, measure what matters, and reduce uncertainty without slowing the workflow.
Why Guesswork Happens in Borescope Inspections
Even the best technicians can be limited by what the image can reliably show. Guesswork usually does not come from lack of skill. It comes from optics, geometry, and the realities of inspecting complex parts through small access points.
Common sources of uncertainty
Perspective distortion and missing scale
A defect can look larger or smaller depending on how close the tip is and how the surface curves away from the lens. If there is no reliable reference, the inspector may only be able to describe the issue in relative terms.
Lighting and reflections
Highly reflective alloys, curved airfoils, and tight chambers can create glare. Shadows can hide edges. Carbon deposits can blend into the background. The result is that boundaries become harder to define, especially when a finding sits on a transition line or near a leading edge.
Angle changes that alter appearance
A shallow scratch can appear deep when viewed at the wrong angle. A small pit can look like a crack if the lighting catches it just right. With a single viewpoint, it can be difficult to confirm what the feature really is.
What guesswork costs
When the image is ambiguous, decisions slow down. A supervisor may request additional images. A second technician may need to re-scope the area. In some cases, the uncertainty can lead to unnecessary removals or expanded inspections that add downtime and labor. Just as important, inconsistent interpretation between shifts can create uneven standards. Reducing that variability is one of the biggest advantages of adding measurement and confirmation capabilities to the inspection toolkit.
What Dual View 3D Measuring Changes
Dual view 3D measuring does two things well. First, it improves visual context by capturing the same area from two viewpoints. Second, it turns what the technician sees into measurable data, which helps align decisions across the team.
Dual view imaging in plain terms
Dual view means the borescope can provide two different viewing angles of the same target area, typically using a forward view and a side view or two distinct perspectives that allow the inspector to validate what they are seeing. That second viewpoint is valuable because it helps confirm edges and shape. A feature that looks like a crack in one view may reveal itself as a scratch or a surface deposit in the other. A dent that seems severe may look more shallow when seen from a confirming angle.
Dual view also helps with orientation. In complex engine geometries, it is easy to lose a sense of how the camera tip is positioned relative to the part. Two perspectives make it easier to interpret where the defect sits and how it relates to nearby features like cooling holes, edges, and transitions.
3D measurement as a practical step forward
Measurement is where dual view becomes even more impactful. Instead of relying on descriptive phrases such as small, moderate, or significant, 3D measuring allows the inspector to capture dimensions such as length, depth, or area depending on the tool and the measurement mode. In practical terms, this supports quicker and more consistent decisions because the team can compare the measured feature against internal limits, manual guidance, or trending history. Measurement also reduces the need to re-enter the engine just to confirm size, which can save time during line maintenance and scheduled checks.
Aviation Scenarios Where Dual View Measurement Pays Off

The best way to understand the benefit is to look at common inspection targets and the kinds of decisions technicians need to make quickly.
Turbine blades and vanes
Hot section components are often inspected for impact damage, edge wear, nicks, dents, erosion, and surface distress. A dual view approach can help confirm whether an edge irregularity is actually material loss or simply a lighting artifact. Once confirmed, a measurement helps determine whether the feature is within acceptable limits or whether it warrants repair, blending, or additional evaluation. When multiple blades show similar wear, measurement also supports consistency by reducing the chance that one blade is called acceptable while another similar blade is flagged.
Combustor liners and hardware
Liners, domes, and surrounding hardware can show cracking, burn patterns, and localized damage. Cracks can be especially difficult to interpret from a single view because reflections and surface texture can mask the true boundary. Dual view can help validate crack direction and endpoints. Measuring length or affected area helps teams decide whether the condition should be monitored or escalated. It also improves repeat inspections by giving technicians a clear baseline for trending.
Airframe cavities and auxiliary components
While engines are a common use case, borescopes also support inspections in confined airframe spaces and in components where access is limited. In these environments, repeatability matters. If a team inspects the same cavity across multiple intervals, consistent viewpoints and measurable records reduce the chance that a known feature is rediscovered and treated as a new issue. The more consistent the evidence, the smoother the maintenance decision process tends to be.
A Repeatable Workflow That Improves Measurement Reliability
Measurement tools are only as good as the habits behind them. The goal is not to overcomplicate inspections. It is to create a consistent capture method that produces dependable results.
Setup habits that improve accuracy
Start with stability. A steady image makes edges clearer and reduces the risk of measuring the wrong boundary. Maintaining a reasonable working distance, avoiding extreme angles when possible, and keeping the target centered in the view all improve measurement quality. If the surface is reflective, slight adjustments to lighting and angle can reveal the true edge of a feature. Dual view becomes the confirmation step, using the second perspective to verify that the defect boundary is real and not a glare line.
A practical measurement workflow
A strong workflow often follows a simple sequence:
- Locate and frame the suspected defect in the first view.
- Switch to the second view to confirm shape, endpoints, and context.
- Capture images or video from both perspectives for documentation.
- Apply the relevant measurement mode and select reference points carefully.
- Recheck the boundary in both views if the result seems inconsistent with what the eye suggests.
This process helps technicians avoid measuring deposits, shadows, or reflections rather than actual material condition.
Common mistakes to avoid
Measurement reliability can drop when the camera is too close, too far, or sharply angled relative to the surface. Another common issue is rushing point selection. If the edges are not clearly defined, it is better to adjust lighting or viewpoint before measuring. Dual view is helpful here because it provides a built-in cross-check. If the second view does not confirm the same endpoints, the finding may need re-framing before it is measured and documented.
Documentation That Supports Faster Reviews and Better Trending
In aviation maintenance, a good inspection is not only about what was found. It is also about how clearly the finding can be reviewed, explained, and tracked.
Turning inspection outputs into maintenance-ready evidence
Dual view images paired with measurements create a stronger record than images alone. They make it easier for supervisors, engineers, and quality teams to understand what was seen and why a decision was made. Instead of relying on subjective descriptions, the documentation can include measured size and the visual proof that the endpoints were correctly identified. That can reduce follow-up requests and speed up sign-offs.
Comparing conditions over time
Trending is where measurement really shines. When an area is inspected again later, the team can capture similar views and compare size changes. This is especially useful for features that may be monitored, such as small cracks, localized erosion, or surface distress that does not immediately exceed limits. Consistent documentation reduces the chance that different technicians interpret the same condition differently from one interval to the next.
Reducing Uncertainty with the Right Inspection Tools

Dual view 3D measuring helps aviation teams move from estimation to evidence. Dual view adds visual confirmation so edges and shapes are easier to interpret. 3D measurement adds consistency so the team can make decisions based on size and repeatable data, not just perspective and experience. The result is often fewer re-inspections, fewer unnecessary removals, and faster agreement across technicians, supervisors, and QA.
For teams evaluating options, the best starting point is to compare capabilities across a dedicated catalog such as the USA Borescopes products page. When it is time to select a configuration that fits specific inspection paths and documentation needs, USA Borescopes can help match tools to aviation applications and workflow requirements. To discuss a use case, request guidance, or get pricing, readers can contact them for support.
About The Author
The author is an inspection technology specialist with extensive experience supporting aviation and industrial visual inspection programs. They focus on practical workflows, documentation discipline, and tools that improve repeatability. Their perspective is based on field outcomes and technician feedback across multiple maintenance environments.


